
附上demo 地址:Vue简单路由 demo
- 项目中引入 vue-router
npm install vue-router
- 新建一个 *.js 文件
初始化路由模块
//router.js
import Vue from 'vue'
import VueRouter from 'vue-router'

Vue.use(VueRouter)
- 新建一个文件夹,名字随意,创建两个子 *.vue文件,并把它们初始化。
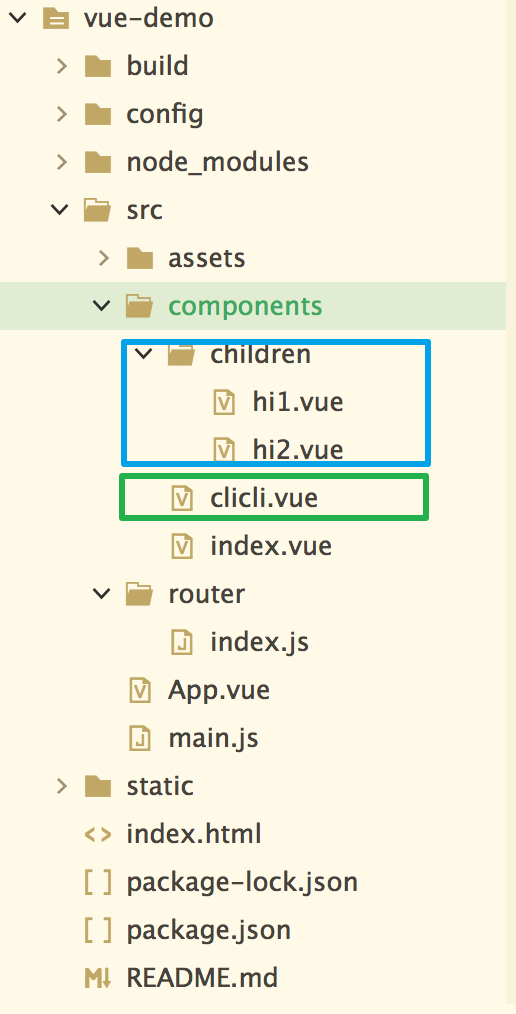
如图所示蓝色框内的是子路由,绿色框内的是平级路由。
- 在router.js 中设置路由配置
import Vue from 'vue'
import Router from 'vue-router'

//引入*.vue 页面
import Index from '@/components/index.vue'
import Hi1 from '@/components/children/hi1.vue'
import Hi2 from '@/components/children/hi2.vue'
import Clicli from '@/components/clicli.vue'

Vue.use(Router)

export default new Router({
    routes: [{
        path: '/',    //重定向路由
        name: 'Index',
        component: Index,
        children: [   //配置子路由
            {
                path: '/',
                component: Hi2
            },
            {
                path: '/index/hi1',
                component: Hi1
            },
            {
                path: '/index/hi2',
                component: Hi2
            }
        ]
    }, {       //同级路由
        path: '/clicli',
        name: 'Clicli',
        component: Clicli
    }, {
        path: '/hi1',
        name: 'Hi1',
        component: Hi1
    }]
})
- 在 index.vue 中配置子路由的入口端
<template>
    <div>
        <ol  start="1" class="index-list">
            <li><router-link to="/index/hi1">子路由 H1</router-link></li>
            <li><router-link to="/index/hi2">子路由 H2</router-link></li>
            <li><router-link to="/clicli">(全屏) 平级路由 CliCli</router-link></li>
            <li><router-link to="/hi1">(全屏) 子路由 H1</router-link></li>
        </ol>
        <div class="routerBox">
            <router-view></router-view>
        </div>
    </div>
</template>

<script>
</script>

<style>
    li{
        list-style: none;
    }
    .index-list{
        margin: 0;
        padding: 10px;
        text-align: left;
    }
    .index-list>li{
        line-height: 30px;
    }
    .routerBox{
        margin: 10px;
        padding: 10px;
        border: 1px solid #000;
    }
</style>
具体实现效果如下
vue路由 mode属性
hash使用 URL 的 hash 来模拟一个完整的 URL,当 URL 改变时,页面不会重新加载。(有#号)
history如果不想要很丑的 hash,我们可以用路由的 history 模式,这种模式充分利用 history.pushState API 来完成 URL 跳转而无须重新加载页面。
当你使用 history 模式时,URL 就像正常的 url一样。(无#号)